Add a Where Clause in an employee's Set Rights
Where Clauses control employees' access to information about other employees.
If an employee has an invalid Where Clause Allows you filter records using a specific criteria. in their Set Rights Set Rights are the system permissions you allocate to employees to control the information available to a user about other employees., they can Sign in to the system, but cannot see the Group Absence Calendar, nor access any employees via Directories, as the system cannot determine their access permissions.
In this section:
Where Clause - points to note
Not Case Sensitive
-
Field labels are usually preceded by The, but are not case sensitive (i.e. either TheDepartment = ‘Finance’ or the department = ‘finance’ works).
Spelling
-
Field value format/spelling must match the format in the system (for example, for a department called Sales & Marketing, the Where Clause: TheDepartment = ‘Sales and Marketing’ does not work).
The following conditions apply when configuring Set Rights for a standard employee:
-
Selecting no indicators with no Team Where Clause in place means that the employee cannot access any information about other employees.
-
Selecting an indicator with no Team Where Clause in place gives the employee access to information for that indicator for all employees.
-
If you do not select any indicators but have a Team Where Clause in place, the employee has read-only access to the Group Absence Calendar for all employees covered by the Team Where Clause (or all active employees if the Team Where Clause is ‘1 = 1’).
Create a Where Clause
-
Sign in to Staffology HR.
-
In the navigation menu, select Directories.
-
In any of the displayed tabs, search for the required employee and select their record.

-
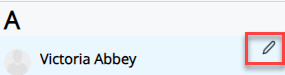
Select Edit on the required employee's record.
You can also select the Edit icon displayed on the employee's name:
-
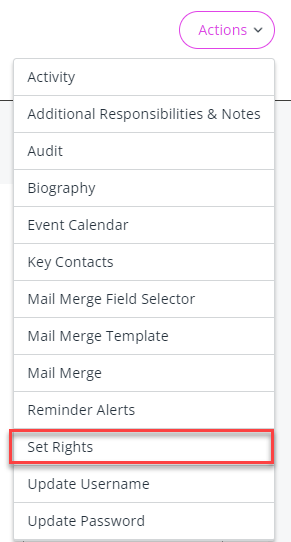
Go to Actions and choose Set Rights.
-
On the Set Rights screen, select the Where Clause Builder icon:

The Where Clause Builder screen opens.
-
Complete the fields shown on screen using this table as a guide:
Field How to complete Field Operator Here you can specify whether the result should be Equal to, Greater than, Greater than or Equal to, Less Than, Less than or Equal to, Not Equal to, or anything in between to the Value you are about to set.Value This is how you find the result. Either add information in the field to find employees matching this criteria or choose an option from the dropdown.
Follow Select this to set a placeholder in the Where Clause, meaning the system will check the Field every time the Where Clause is used, rather than using a specified value.Logical When adding more Rows, you can set this to add the Row as an AND or an OR.AND or OR Examples:
AND
When selecting everyone in the same Location/Division, you can also include everyone in the same Department and Team. The clause would include Location/Division AND Department AND Team.This means that if you have different Location/Division with the same Department names or the same Team names, it will only include those in the same Location/Division, in the same Department and in the same Team. This allows you to narrow down the results rather than selecting the Location/Division.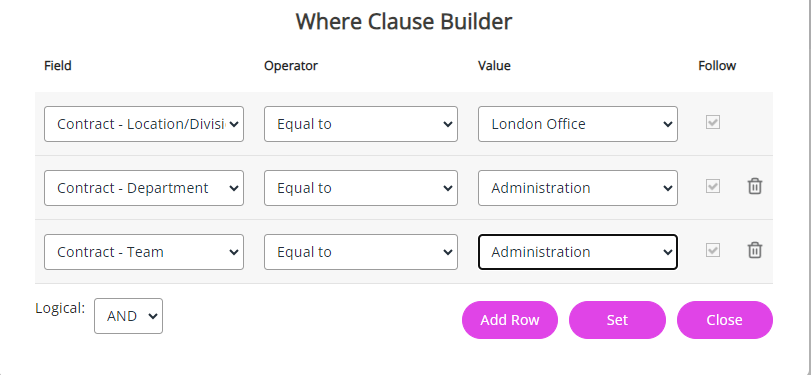 ORWhen creating a clause for: the Sales Department OR Support, this includes everyone in the Sales Department and everyone in the Support department, which widens your results, rather than just selecting one department
Set Select this to create the Where Clause. The Where Clause text box populates with the criteria added. Close This closes the Where Clause Builder without saving any changes.
-
The Team Where Clause field populates with the criteria you have added.
-
Select Save.
After setting up a Where Clause, review it in the employee's record to check it is working as expected.
Where Clause - example
To create a Where Clause that gives someone access to all employees in the Finance department, you would need to create a TheDepartment = ‘Finance’ clause.
To do this:
-
Sign in to Staffology HR.
-
In the navigation menu, select Directories.
-
In the Employees tab or any other tab, search for the required employee and select their record.
-
Select Edit on the required employee record.
You can also select the Edit icon displayed on the employee's name:
-
Go to Actions and choose Set Rights.
-
On the Set Rights screen, select the Where Clause Builder icon:
![]()
-
The Where Clause Builder screen opens.
-
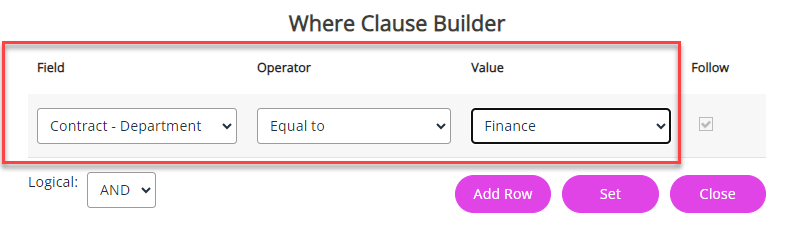
Complete the fields shown on screen. In our example, we would choose:
Field How to complete Field Select Contract – Department from the dropdown menu.Operator Select Equal to from the dropdown menu.(On the other hand, if you select Not Equal To as the operator, the Where Clause is The Department <> ‘Finance’, giving the employee access to all employees who are not in this department) .Value Select Finance from the dropdown menu.Which looks like this in the system:
-
Select Set.
-
The Team Where Clause field populates with the criteria you have added. So in our example, the Where Clause is: TheDepartment = 'Finance'.
-
Select Save.
After setting up a Where Clause, check it is working as expected by checking the employee's record. Refer to Check a Team Where Clause in an employee's record for more information.