Step by step guide to running a payroll
Step 2: Add new employees and make permanent changes
Before you process the payroll for this period, add any ne
w employees due to be paid this period and make changes to current employees. This includes changes to addresses, salary, hourly rate or hours worked. Making the changes in the employee record will save time as you won't have to manually change them each pay period.
If you have no new employees or permanent changes to make, you can skip this step.
If its only for a few periods, its recommended you make a temporary change.
You have the choice to add a new employee details, choosing each tab or to use a wizard.
You can import employees using a CSV file, an FPS, or an external HR system.
Manually enter details for a new employee
-
Log into Staffology Payroll and select the required company.
-
Go to Employees.
-
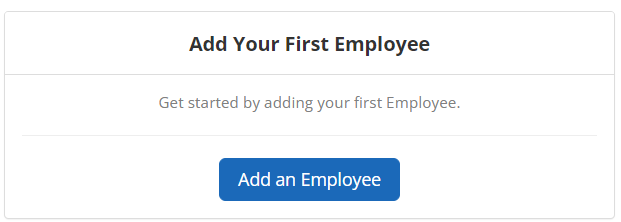
Select Add an Employee or + Add New.
The + Add New option appears after you add your first employee.

-
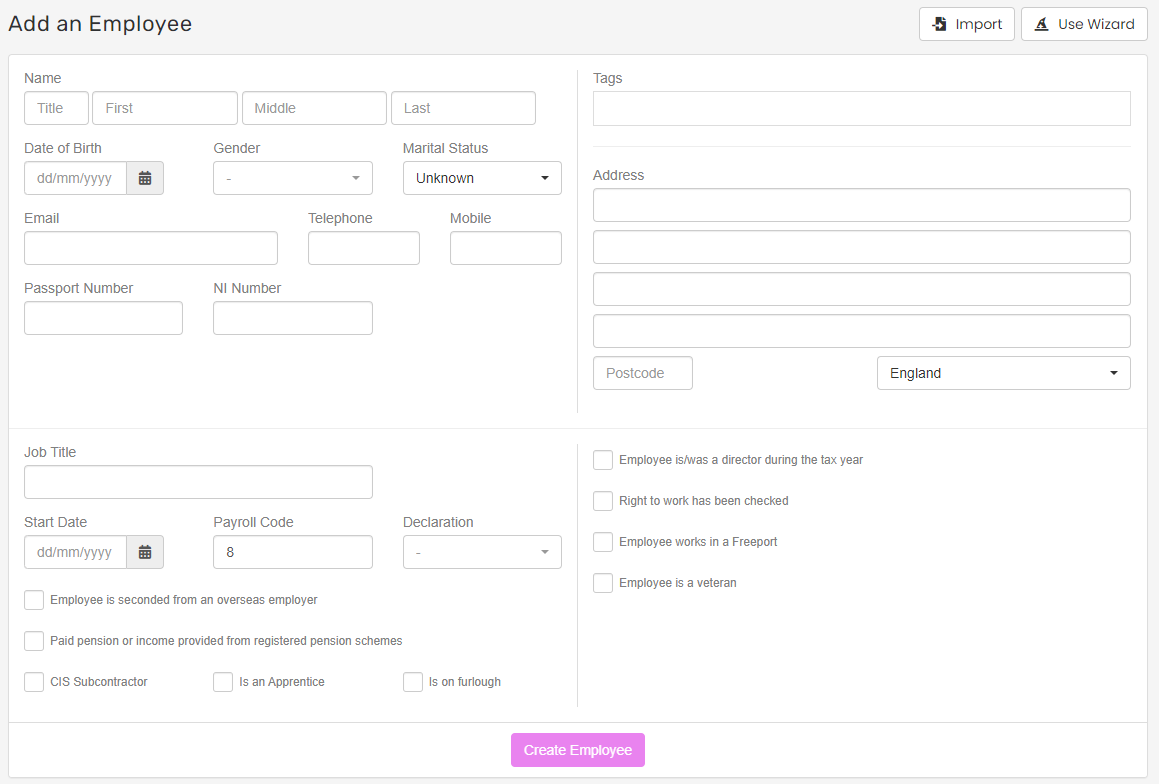
Enter the information required on screen.

-
If necessary, change the Payroll Code.
You may want to change the Payroll Code to match another system.
-
Select the required Employee Type.
-
Select Create Employee.
It is important that the information is accurate and kept up to date. Use full names not nick names.
Wizard
-
Log into Staffology Payroll and select the required company.
-
Go to Employees.
-
Select Add an Employee or + Add New.
-
Select Use Wizard.
This will be remembered when you create your next employee.
-
Using the wizard, enter the relevant details and select Create Employee.
-
On the next screen, enter the information you have and then Update.
-
Fill in the details requested on the first screen of the Wizard.
The system asks which type of employee you’re adding (director, apprentice A person who is employed to learn a skilled trade, and who will typically work alongside experienced professionals in their chosen field., etc.). The option you choose determines the information asked for on the following page.
The employee is now created, you can add further details at any time but remember to select Update to save any changes.
Full page
If you prefer not to use the Wizard, you can go straight to creating the employee by filling out the full page of details.
You can switch between tabs to add more information without having to save the page for each one.
Step 3: Add employees who have opted in or joined the pension scheme.
Good to know...
-
Employees who don’t provide a P45 A P45 is a document issued by an employer to an employee when they leave a job. It shows details about the's employment, including their start and end dates, how much they were paid, and how much tax they paid during their employment. The is made up of four parts: Part 1 is sent to HM Revenue & Customs (HMRC), Part 1A is kept by the employer, and Parts 2 and 3 are to the employee as a record of their earnings and tax paid. The P45 is an important document that employees need to give to their new employer when they start a new job as it provides information about their tax code and previous earnings, which helps the employer calculate their tax and National Insurance contributions. before the first payrun should complete a starter checklist. External website PDF
-
A starter checklist is based on an old form. A P46 A P46 has been replaced by the New Starter Declarations. It is still commonly called a P46.. The names are sometimes used interchangeably. When someone mentions a P46 (not to be confused with a P46 Car) it's a starter checklist.
-
When creating a new employe it's important to be accurate. This information is sent to HMRC His Majesty's Revenue and Customs is a non-ministerial department of the UK Government responsible for the collection of taxes, the payment of some forms of state support, the administration of other regulatory regimes including the national minimum wage and the issuance of national insurance numbers. who match the information with their records.
-
National Insurance A system of contributions paid by workers and employers in the UK, which funds various state benefits, such as the State Pension and Jobseeker's Allowance. (NI) numbers should be entered as they help HMRC match the employee, but are not required to run payroll. To help HMRC match records you can enter the passport number if you don't have the NI number.
-
GOV.UK Guide: Employing staff for the first time. External website
-
GOV.UK Guide: Tell HMRC about a new employee. External website