Create a Set Rights Test User
Before applying Set Right permissions to employees, create a Test User to check you have selected the appropriate permissions.
After creating the test user, you can log in as them and view the information available for employees.
Before you start...
-
The test user is not included in your headcount.
-
The test user does not appear in any Exports/Reports.
-
The test user shows in Directories for Set Rights users only.
-
You cannot set the Test User indicator when creating a Set Rights Role.
-
You can create a maximum of 5 test users
-
Sign in to Staffology HR.
-
Go to Directories, select Create New and add details for the test user as you would when adding a new employee into the system.
-
After creating the test user, go to their My Details.
-
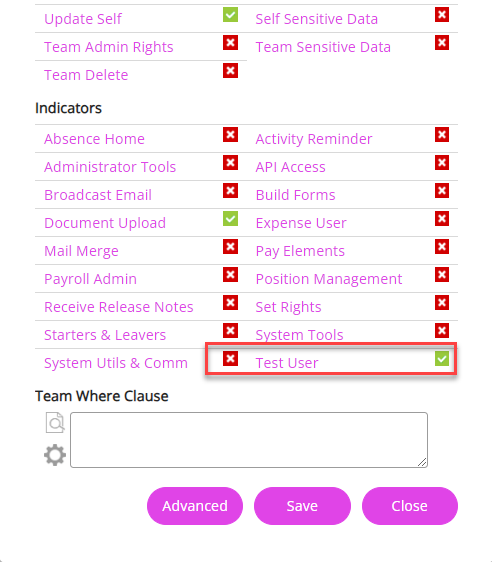
Select Personal > Actions > Set Rights Set Rights are the system permissions you allocate to employees to control the information available to a user about other employees..
-
From the Indicators section, choose Test User and any other relevant checkboxes.
-
Choose Advanced and select the checkboxes as required in the test user's Self Set Rights, Team Rights and Secondary Rights.
-
Select Save on the Set Rights screen.
-
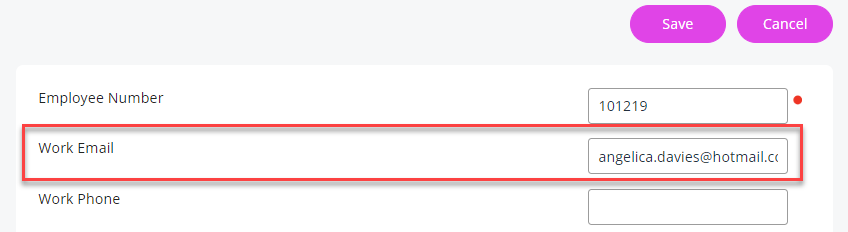
Choose Personal and enter your personal email in the Work Email field to receive the invitation email.
-
Select Save.
-
The email entered will be visible in Directories for employees.
If you prefer not to show your personal email:
-
Go to System Tools > Utilities > Tools > System Configuration.
-
In the Email Format field, enter the email domains you want to show in Directories, for example, @yourcompany.com.

-
You can add multiple domains, separate each with a semi-colon (;).
-
Remember to Save your changes.
-
-
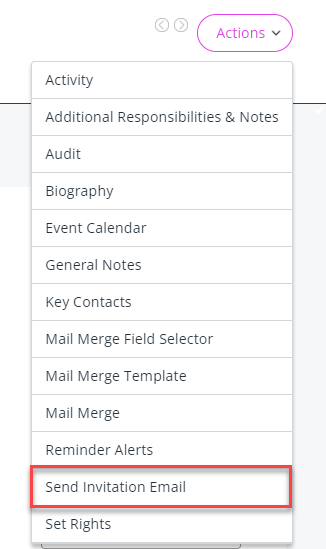
In the test user's My Details, select Actions > Send Invitation Email.
-
Check your personal email inbox and select the received link to set up the test user's login details.
-
Your email should have populated in Username.
If necessary, remove it and add another email address. As long as you input it in the format of an email address, the system should accept anything you input here.

-
Enter a Password and select Set.
-
The Login screen for your HR software opens.
-
Log in as the test user and check you have assigned the correct Set Rights permissions.
You can also assign the test user a Set rights Role and log in the system as them to check if the role and its permissions have applied as expected.
Learn how to Delete an Employee The process is the same for a test user.