Using Exports & Reports for Time - admin
Exports
With Exports, you can create bespoke reports using the Field Selector and save any changes made. You can then rerun the reports without recreating them each time.
-
Sign in to Staffology HR.
-
Go to System Tools > Exports & Reports.
-
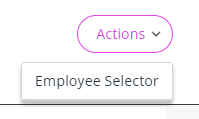
To display specific employees' data in the export, select Actions > Employee Selector.
Ignore this step to include all employees' data.
-
Choose Exports > Time.
The Time screen opens.
-
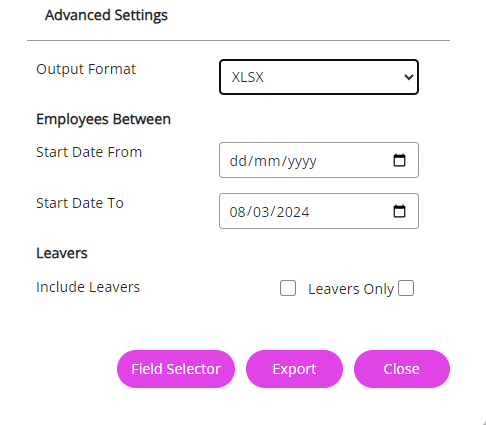
Choose Advanced Settings.
-
Select the required Output Format from the dropdown.
-
For a specific time period or to include new starters, enter dates in the Start Date From and Start Date To fields.
Start Date to populates automatically with today's date.
-
Select either Include Leavers or the Leavers Only checkbox and complete the Termination Date The last day of an employee's employment and the day their contract is terminated. From and Termination Date To fields.
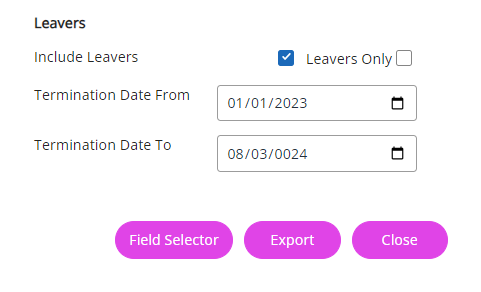
To include new starters and leavers in the export, you must complete the fields within the Employees Between and Leavers sections. Otherwise, the system only gives you data for existing employees.
-
You have two choices for the next step:
-
Select Export to view information on all Time fields or;
-
Choose Field Selector to gather data on specific Time fields.
To use the Field Selector, go to step 10. Otherwise, continue to step 9.
-
-
After selecting Export, download the report to view the populated data.
Field Selector
To generate the report on specific fields:
-
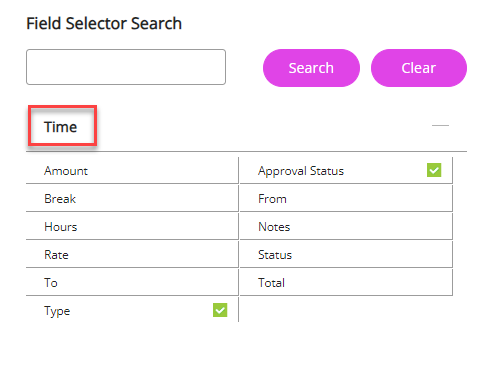
Select the Field Selector:

-
Choose the Time dropdown and select the fields you want to export.
To add Time fields to a more bespoke query, use Quick Queries.
-
Select the Personal dropdown and choose the Forename and Surname checkboxes if you wish to know whose records are in the export. Otherwise, they will be anonymous.
-
After selecting the required fields, either:
-
Close the Field Selector and select Export or;
-
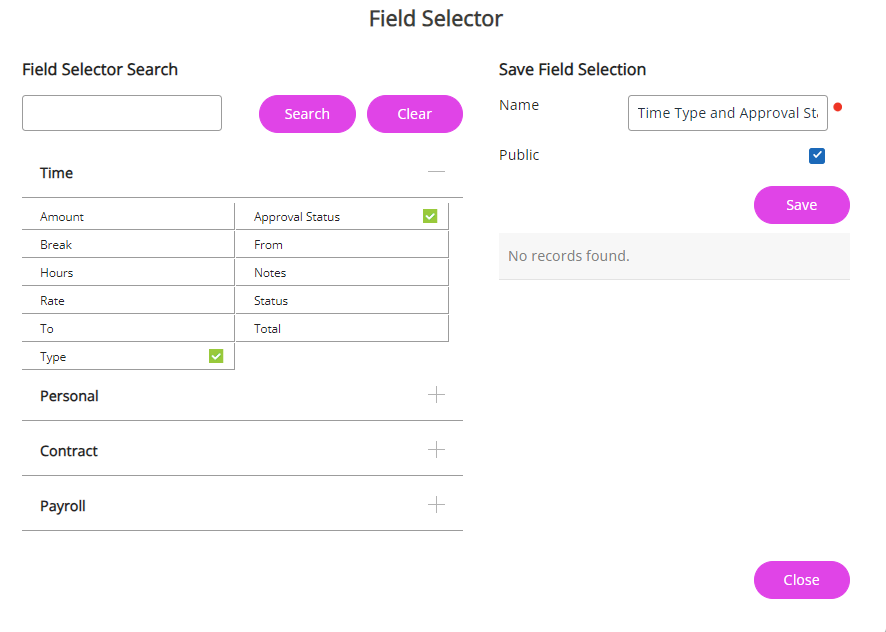
Save the field selection you have created and reuse it the next time you run the export. To do this:
-
Add a report title in the Name field.
-
Select the Public checkbox to allow Set Rights users or users with access permissions to this area and employee data to use this export criteria.
-
Select Save.
-
The Saved Selection section updates with the saved field criteria.
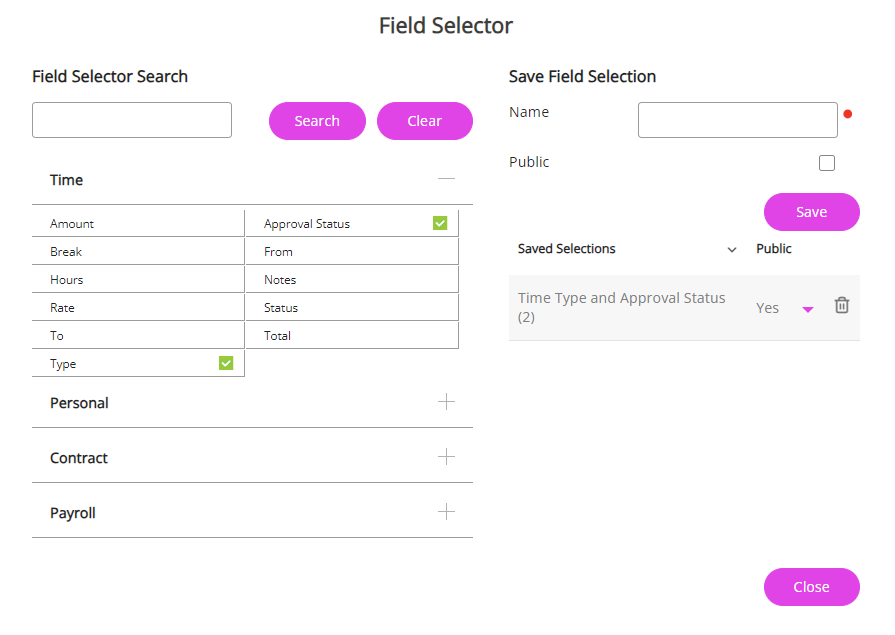
-
Next time you want run the export with this criteria, select it from the table, Close the screen and select Export.
-
-
-
Download and open the report.
Time report
The standard Time report is pre-built, so you cannot rearrange the fields, but you can add a filter. Refer to Exports if you want to customise the report.
-
Sign in to Staffology HR.
-
Go to System Tools > Exports & Reports.
-
To display specific employees' data in the report, select Actions > Employee Selector.
Ignore this step to include all employees' data.
-
Choose Time, then Time again. The Time screen opens.
-
You have multiple choices for the next step:
-
Add criteria to your report using the Standard Filters or Advanced Settings.
or;
-
Select Export to generate the report without any filters.
-
- To apply a filter, go to step 6. To run the report without filter, go to step 14.
-
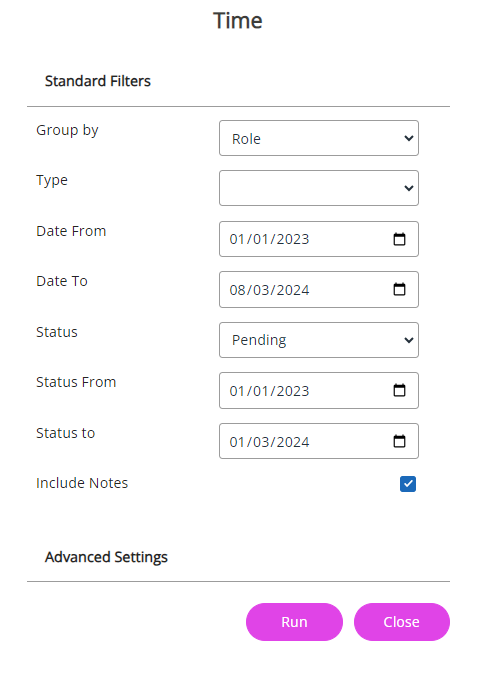
Standard Filters allow you to refine the report based on a specific category such as team or company.
Standard Filters provide data for existing employees only.
-
Choose the Group By dropdown and select an option such as Role or Department.
-
Add dates to specify the time period you want to view data from using the Date From and Date To fields.
-
Select Status and choose an option to view any Pending or Declined Time entries etc (optional).
-
Select the Notes checkbox to include the notes employees have written about their submitted Time entries (optional).
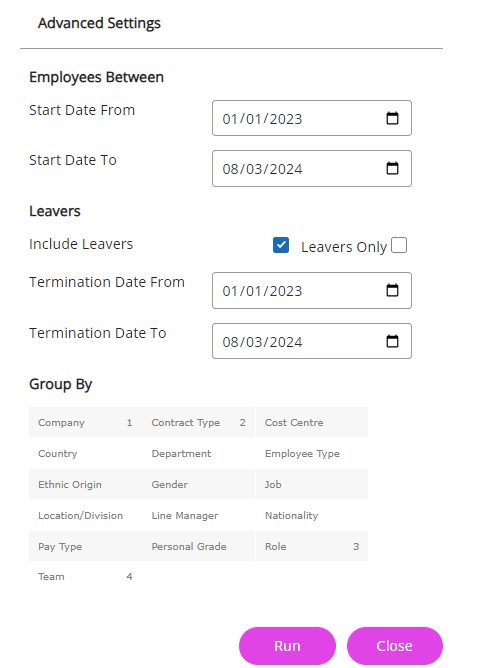
Advanced Settings
Advanced Settings enable you to apply filters to your report across multiple categories, allowing for more detailed customisation of the report.
Advanced Settings allow you to include starters and leavers' information in the report.
-
Enter dates in the Start Date From and Start Date To fields to include employees with future start dates or to only include employees from a specific time period.
-
Choose if you want to Include Leavers or include Leavers Only.
To include new starters and leavers in the report, you must add the above filters. Otherwise, the system only gives you data for existing employees.
-
Select options from the Group By table to filter the report on specific fields.
-
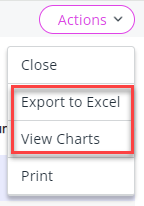
Choose Actions > View Charts or Export to Excel (optional):
-
If selecting View Charts, choose an option from Group by. This generates the charts.
-
Selecting Export to Excel allows you to download the report in a spreadsheet.
-
Standard Filters
Related topics: