Create an API User
-
Creating API users for third-party integrations allows you to ensure a smooth, secure, and effective process.
-
After adding an API user, you can share the generated credentials with a third party. These credentials allow the third party to communicate with your system via the API.
-
You can have up to 10 active API users at any time, but you may create as many users as needed.
-
API users do not appear in any Exports/Reports.
-
An API user is only visible in Directories for Set Rights users.
We advise recreating any API users in your system before the July 2024 release, as users created before this date will not automatically appear in the new API Users screen.
Add the API user's details
-
Sign in to Staffology HR.
Activate API functionality
-
Go to System Tools > Utilities > Tools > System Configuration.
-
In the Modules section, select the API checkbox
-
Select Save.
Create your API User
-
Go to System Tools > Utilities > Company.
-
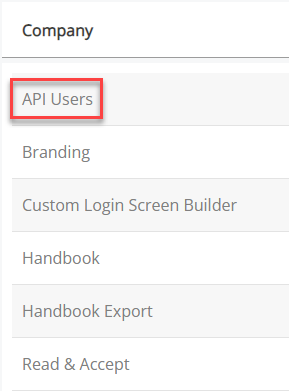
Select API Users.

-
Choose Create User.
The New API User screen displays.
-
Add a Name for your user which relates to the API. For example, if the integration is with Qlearsite, add Qlearsite here.
-
If you need the API user to have approval permissions, for example, they may need to approve timesheets, enter an email into Approval Email.
After creating your API user and assigning them Set Rights Set Rights are the system permissions you allocate to employees to control the information available to a user about other employees. permissions, assign them to the task they are the approver of.
To do this:
-
Go to System Tools > Utilities > Apps > Request Approval.
-
Either select an approver from the list to edit or from the dropdown at the top-right of the screen, choose an option such as Time.
-
Select Create New.
-
Select the Employee list and choose the API user's name.
-
Complete the remaining fields as required. Remember to add a number in Stage. This is where the user is in the approval process, so if they are first, enter the number 1.
-
Choose Save.
-
-
Select the Active checkbox to make the user active or leave it deselected to keep the user inactive.
-
Select Save.
-
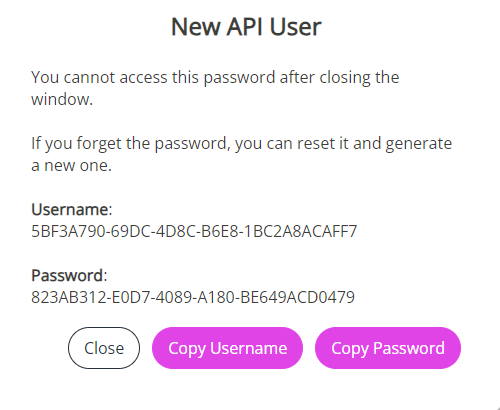
The system auto-generates a Username and Password for the API user.

-
Select Copy Password on the pop-up and paste it somewhere for future reference.
Ensure to copy the password, as you will no longer have access to it after closing the window.
-
Select Close.
-
The API user displays, showing the Status, Name, and Username.

Now that you have created the API user, you can edit its Set Rights (to determine the data the user can access), change its status, delete it from the system, or reset its password.
Edit an API User's Set Rights
-
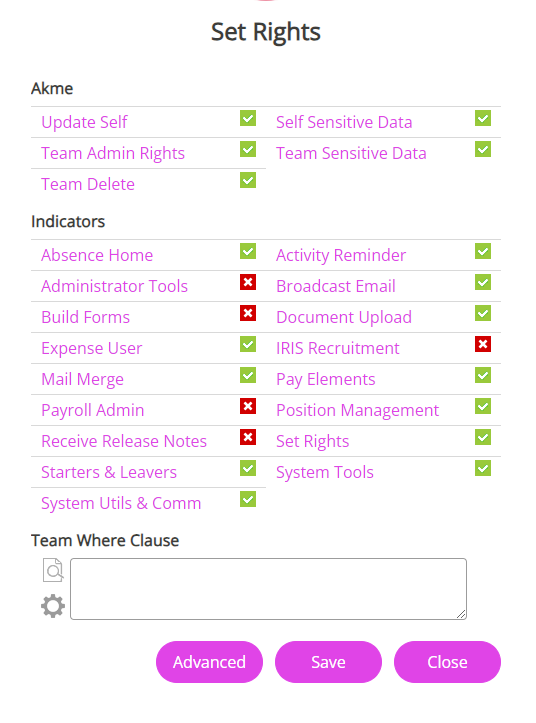
Set Rights determine the level of access the API user has to your system's data. When creating an API user, the system grants them full Set Rights permissions, but you can change this.

To update an API user's Set Rights permissions:
-
Find the API User whose Set Rights permissions you want to edit and select the dropdown arrow.
-
Select Edit Set Rights.

-
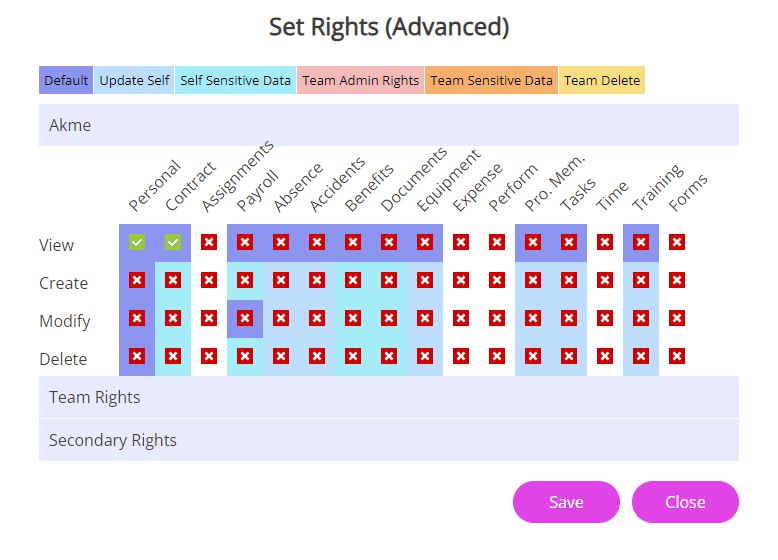
Select the Advanced option to open the API User's own rights. Update the user's Set Rights as required.
For example, the API user may have read-only permissions to their Personal and Contract tabs. This allows the API to perform GETs on the data in those two screens, but no POST, PUT, DELETE, etc.

-
Select Save.
Change an API User's status
-
Find the API user you want to deactivate and select the dropdown arrow.
-
Select Change Status.

-
Select Deactivate on the pop-up displayed.
-
The Status of the API user changes from Active to Inactive.
Delete an API User
-
Find the API User you want to delete and select the dropdown arrow.
-
Select Delete.

-
The user's details are removed from the API Users list.
Reset an API User's password
-
Find the API User whose password you want to update and select the dropdown arrow.
-
Select Reset Password.

-
A pop-up displays showing the new Password. Select Copy Password and make a note of it for future reference.
-
Select Close on the pop-up.