Add a holiday or other absence request: flexible and zero-hours work patterns
This topic is for employees on flexible or zero-hours work patterns who need to add a holiday or other absence When an employee or worker is absent from work. This can be for a variety of reasons. request.
For creating a holiday or other absence requests on a standard work pattern, refer to Add a holiday or other absence request: standard work pattern.
The steps in this section are based on creating a holiday request, but you can follow the same process for any type of absence, including training, compassionate, and working from home.
You cannot select the Half Day Start or Half Day End checkboxes if you are on a flexible work pattern.
-
Sign in to Staffology HR.
-
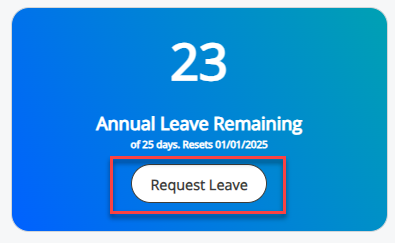
From Home, select Request Leave.
-
Alternatively, in the left navigation menu of your home screen, select My Details > Absence > Request.
-
-
The Request screen opens.
-
In Date From and Date To, enter start and end dates for your holiday or absence. You can also use the calendar icon to select them
-
In the Work Pattern (Hours)/(Days) calendar, add the amount of holiday or absence you want to take
-
The calendar highlights the days you can choose for your holiday or absence:
-
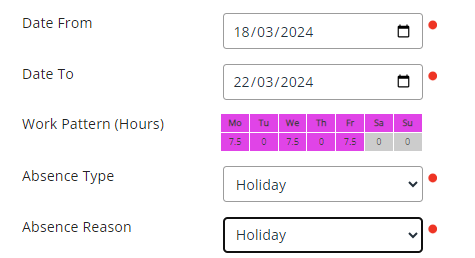
Hours: Enter hours in increments of 0.5 up to a maximum of 8 hours
-
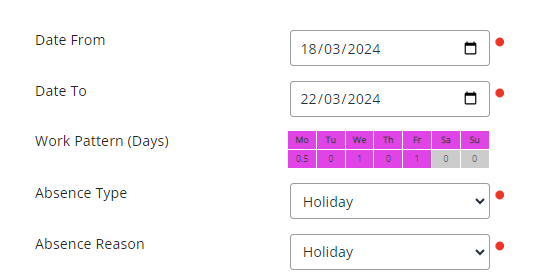
Days: Enter days in increments of 0, 0.5, or 1. You can request up to 7 days at a time. For longer requests, create another request or ask your admin to extend the absence duration
Example: Work Pattern (Hours)
Example: Work Pattern (Days)
-
Complete the remaining fields using this table as a guide:
Field Description Absence Type (Mandatory) Select the type of leave, such as Holiday, from the drop-down. Absence Reason (Mandatory) Select the reason for leave, such as Authorised Leave, from the drop-down. Comments (optional) Add any additional information about your request. Include Saturday (optional) Select if your work schedule includes Saturdays, and the request covers a Saturday. Include Sunday (optional) Select if your work schedule includes Sundays, and the request covers a Sunday. Approver (pre-populated) Displays the name of the person who needs to approve the request. Send To (pre-populated) Displays the email address of your approver.
-
Submit your request:
-
Select Send to send your request to your approver.
-
-
A confirmation message appears. Your request displays as Pending on your Homepage and in the Absence tab.

-
You will receive an email notification once your request is approved or declined.