Import Positions
The Position Management Data Import allows you to create multiple Positions at once using a single template. This is ideal when transitioning to a new HR system and importing data from an exported file.
Before you start: sign in and navigate to Position Import
-
Sign in to Staffology HR.
-
Go to System Tools > Utilities > Position Management > Position Import.
Step 1: Download the Template
-
Select Download Template.
The template opens.
-
Fields that use lookup (dropdown) values will display an arrow. Select the arrow to choose an option from the list. The system pulls these options from your HR data.

-
Mandatory fields are highlighted in the template
-
Row 3 provides guidance on permitted values and includes some example data.

Step 3: Fill out the template
-
-
Begin entering your data from Row 4.
-
Complete all mandatory text fields. Leave non-mandatory fields blank if they don't apply.
Do not remove or rearrange any rows or columns — doing so may prevent the file from importing correctly.
Upload template
-
-
When you finish entering data, select Choose File and upload your completed template.
-
Make sure the file is in XLS or XLSX format.
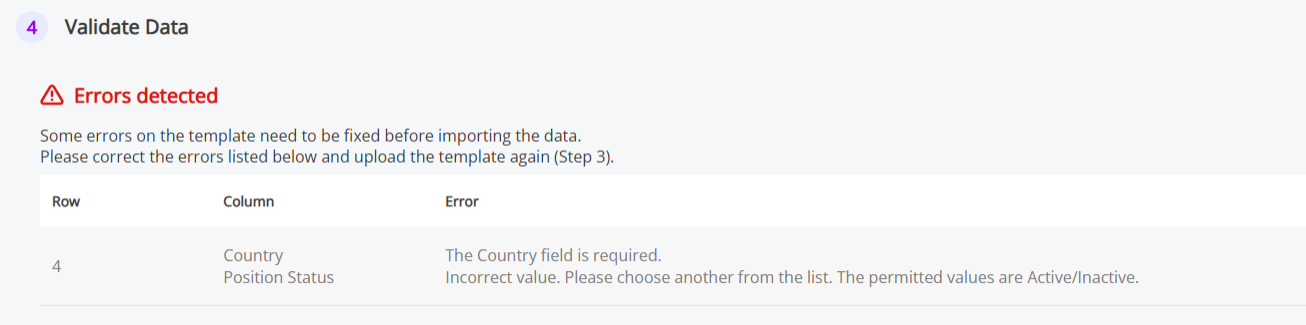
Step 4: Validate Data
-
-
Select Validate Data. The system checks your file for errors.
-
If the system finds no errors, it will display a Validation Successful message. Go to Step 5.
-
If the system finds errors, it displays them in a table. Update your template to correct the issues, re-upload the file, and select Validate again. Once validation is successful, continue to Step 5 .
-
After fixing the errors, re-upload the file, and select Validate Data again.
-
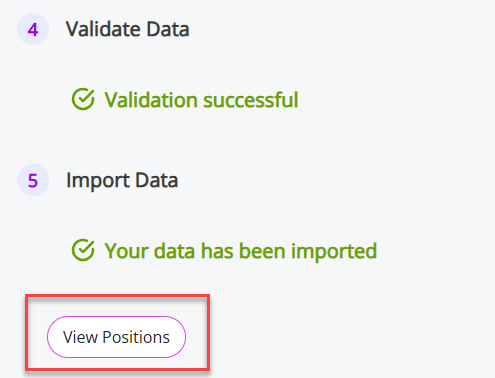
Step 5: Import Data
-
-
Once validation is successful, select Import Positions.
-
The system imports your data.
-
-
Finally, choose View Positions.