Create, edit, or delete an expense
Create an expense
-
Open the Staffology HR mobile app.
-
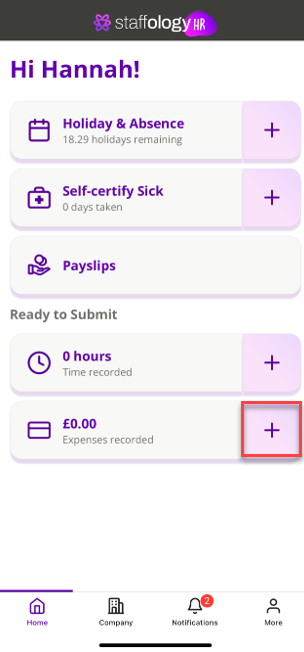
On your Home screen, in the Ready to Submit section, next to the Expenses recorded tile, tap the plus (+) icon. This opens the Record Expense screen.
-
Alternatively, go to More > Expenses and tap the plus (+) icon to open the Record Expense screen.
-
-
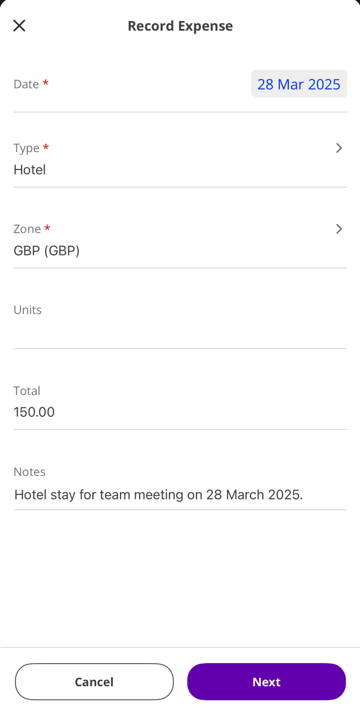
Tap Date From and select a date.
-
Tap Type and choose an option from the list.
-
Tap Zone and choose an option from the list.
-
If needed, tap Units to add the expense units.
-
Enter the Total amount of the expense.
-
If needed, tap Notes and enter a comment about your expense.
-
Tap Next.
-
To add a receipt, either tap Camera to take a photo or choose a photo from your Photo Library.
-
If you do not want to add a receipt, select Save Without Receipt.
-
-
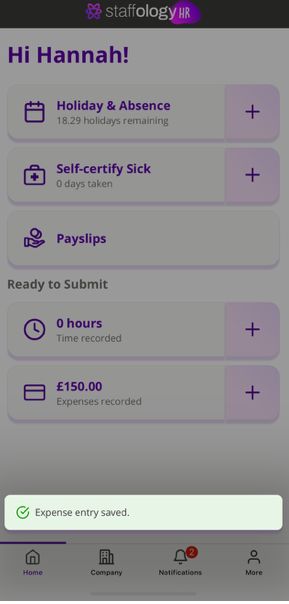
Tap Save.
-
Your expense entry is now saved and ready to submit for approval.
Submit an expense
-
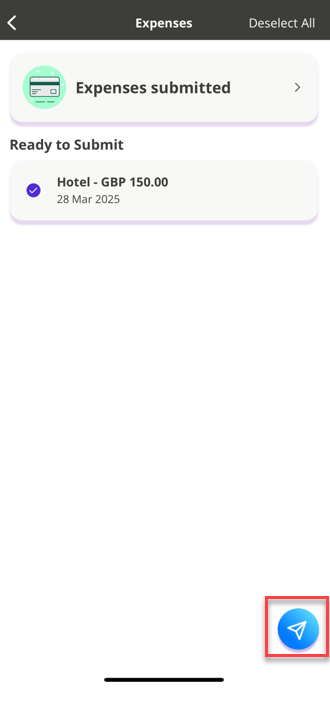
On your Home screen, in the Ready to Submit section, tap on the Expenses recorded tile. This opens the Expenses screen.
-
Tap on the circle within the tile of the time entry you want to submit.
-
Alternatively, go to More > Expenses and on the relevant expense entry, tap on the circle within the tile to select it.
-
-
To submit the entry, tap the arrow at the bottom-right.
-
In the confirmation pop-up, tap Yes.
-
You have successfully submitted your expense for approval. To check its status, from Home, go to More > Expenses > Expenses Submitted.
Edit or delete an expense
You can edit or delete an expense not yet submitted for approval if you have the appropriate permissions.
-
On the Home screen, under Ready to Submit, tap Expenses recorded.
-
Tap on the tile of the expense you want to edit or delete.
-
Do not select the circle box as this will select the entry for submission.
-
-
In the entry details screen, tap:
-
Delete to remove it.
-
Edit to update the expense. After editing your entry, select Save.

-